Task 2
Project Management
In this week, I was given the task to create my own personalized portfolio website and to get familiarize with the git.
Website Creation
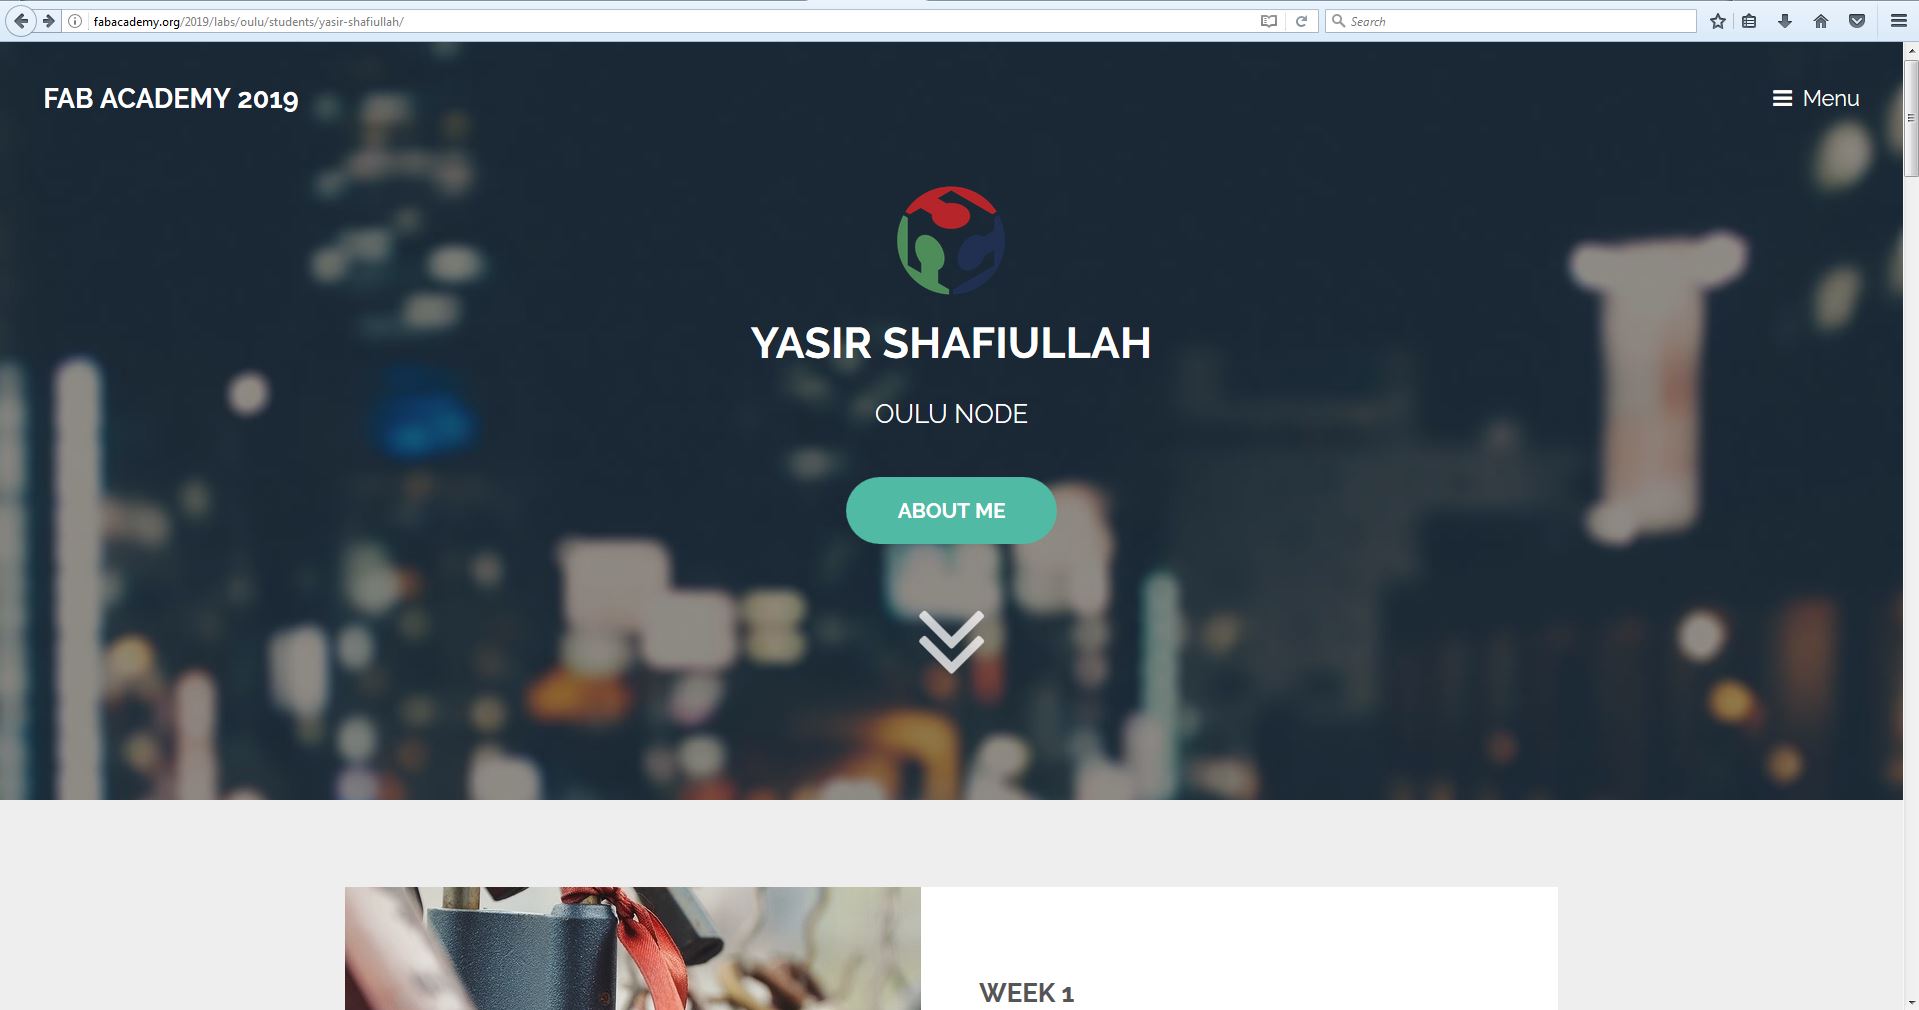
In this task, I was required to create my own portfolio website which will help me in the project management as well as in the organization of my data. Inorder to avoid starting from scratch, I decided to work on an existing template that will serve my purpose for the work. I started searching on bootstrapious, templated, bootstrapmade. After continuous search I stumbled on retrospect in templated which will serve as a framework for my design.
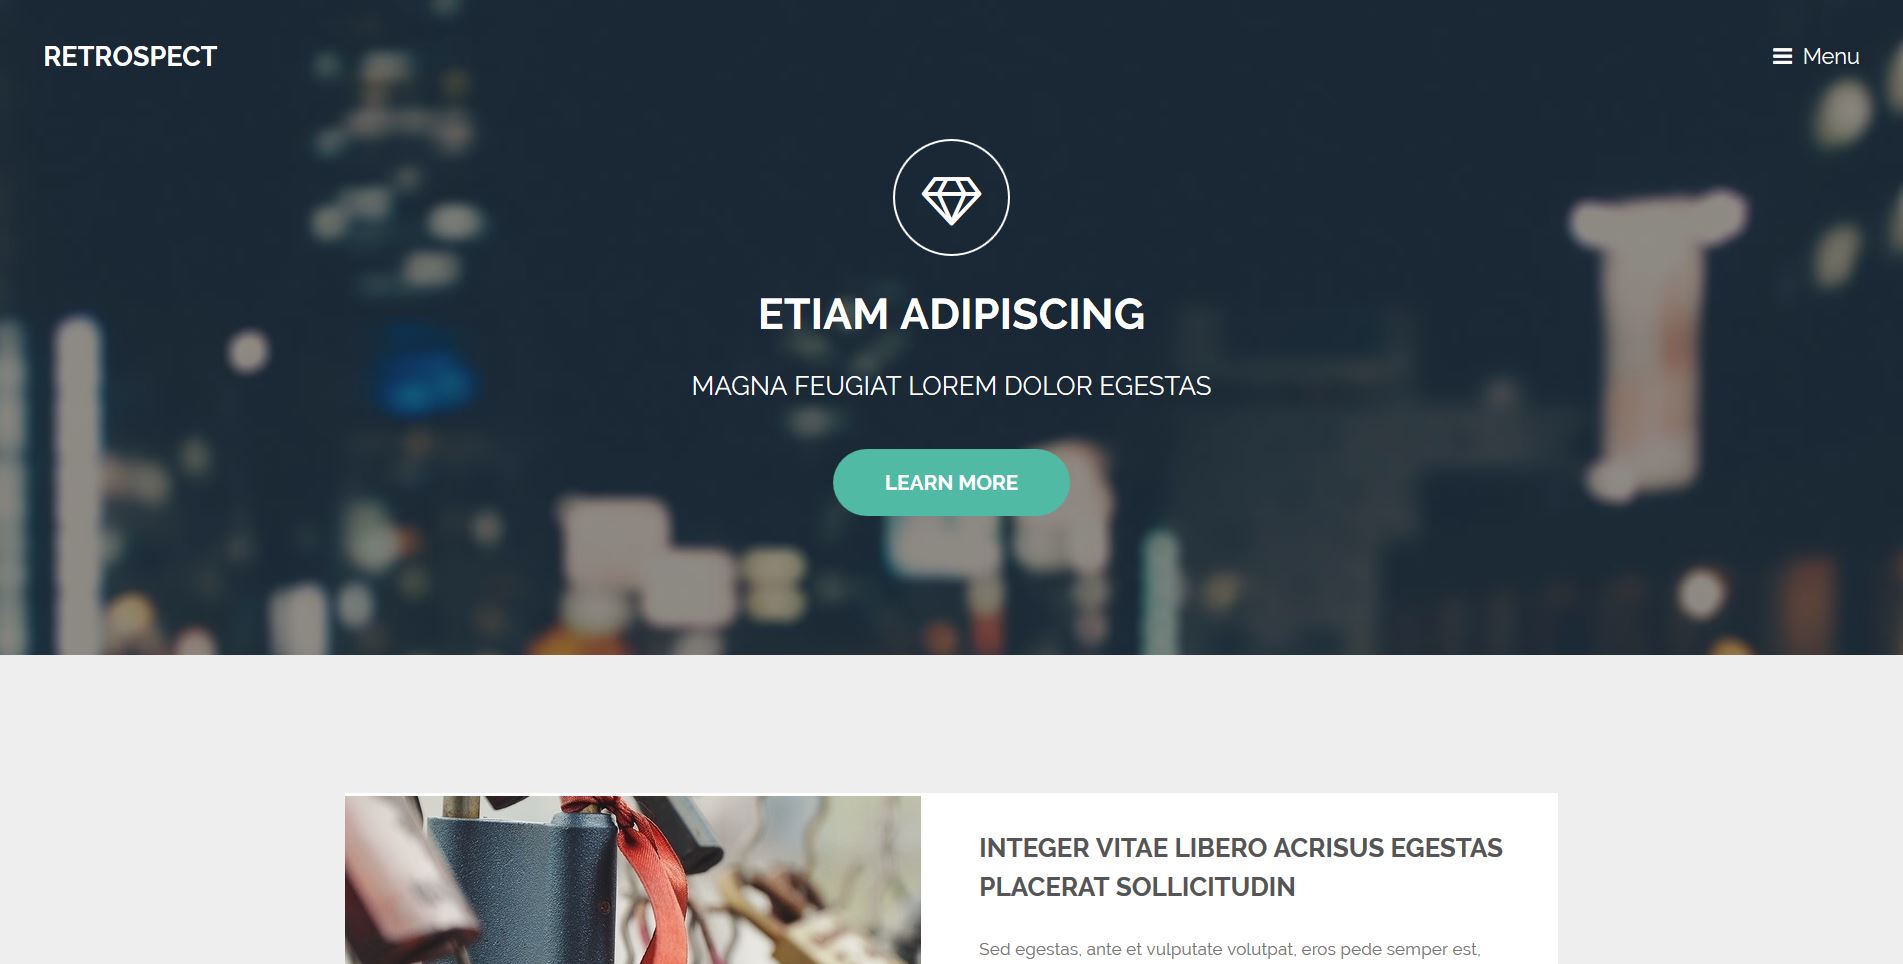
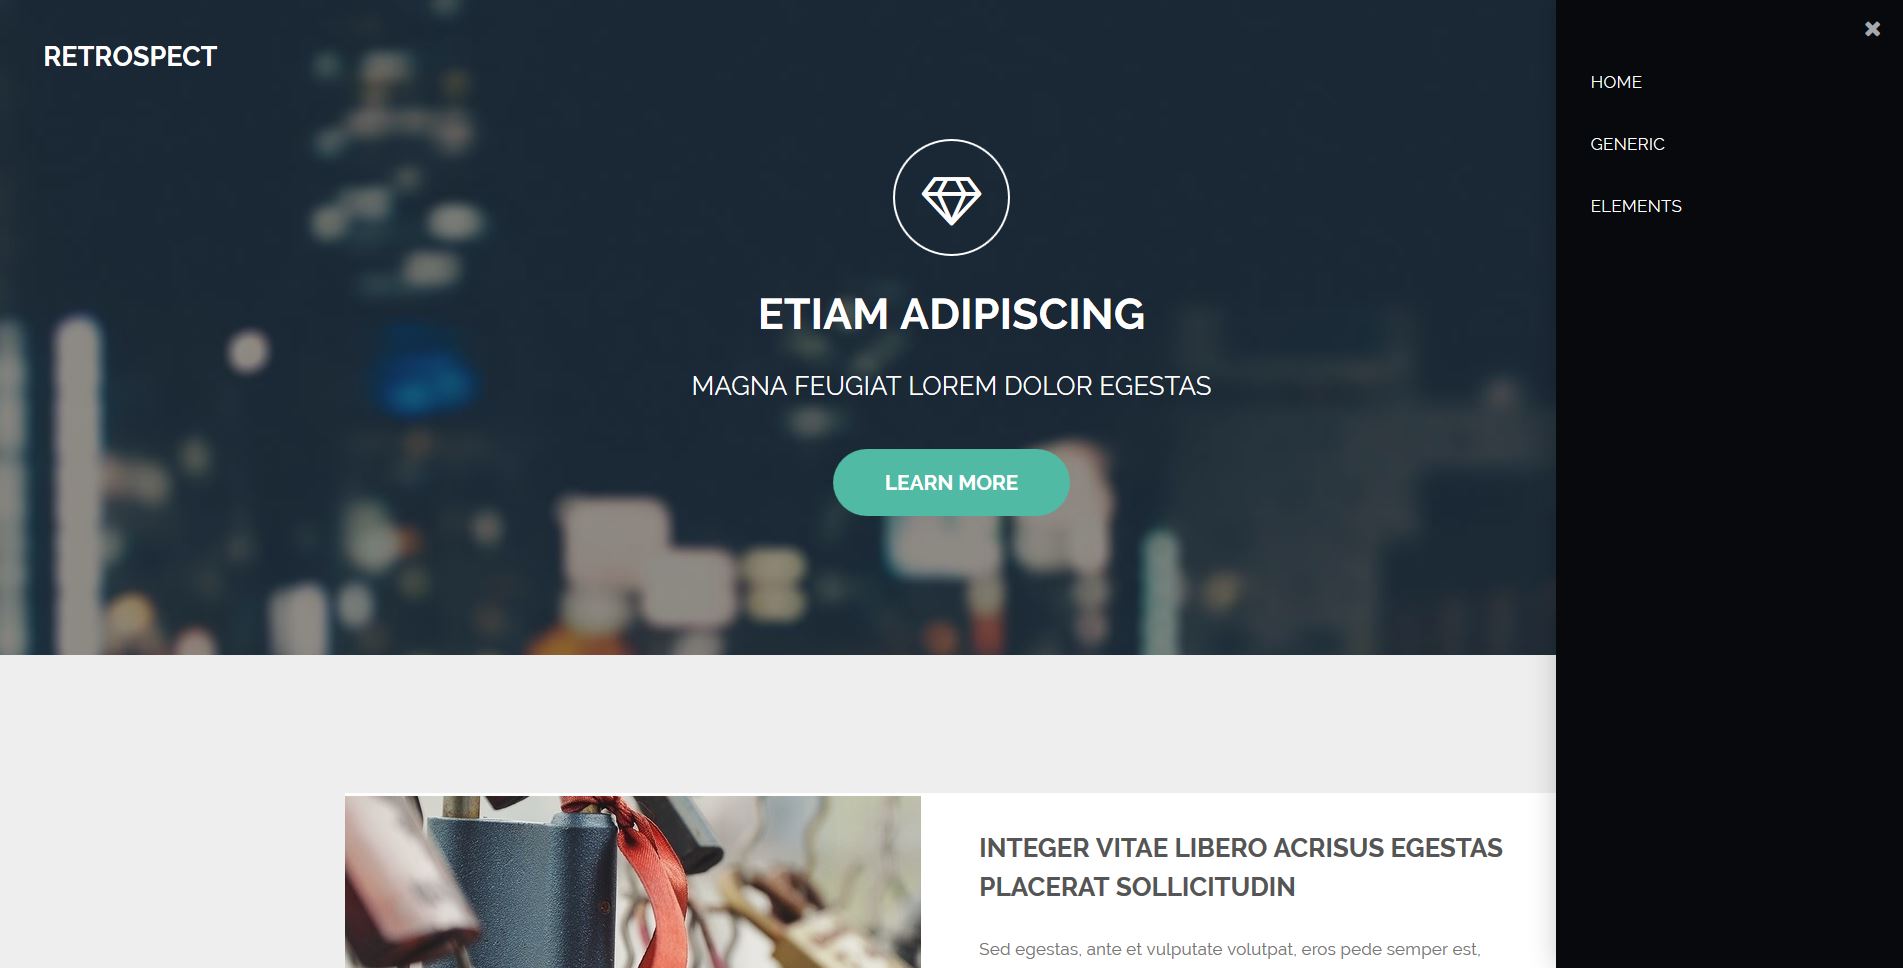
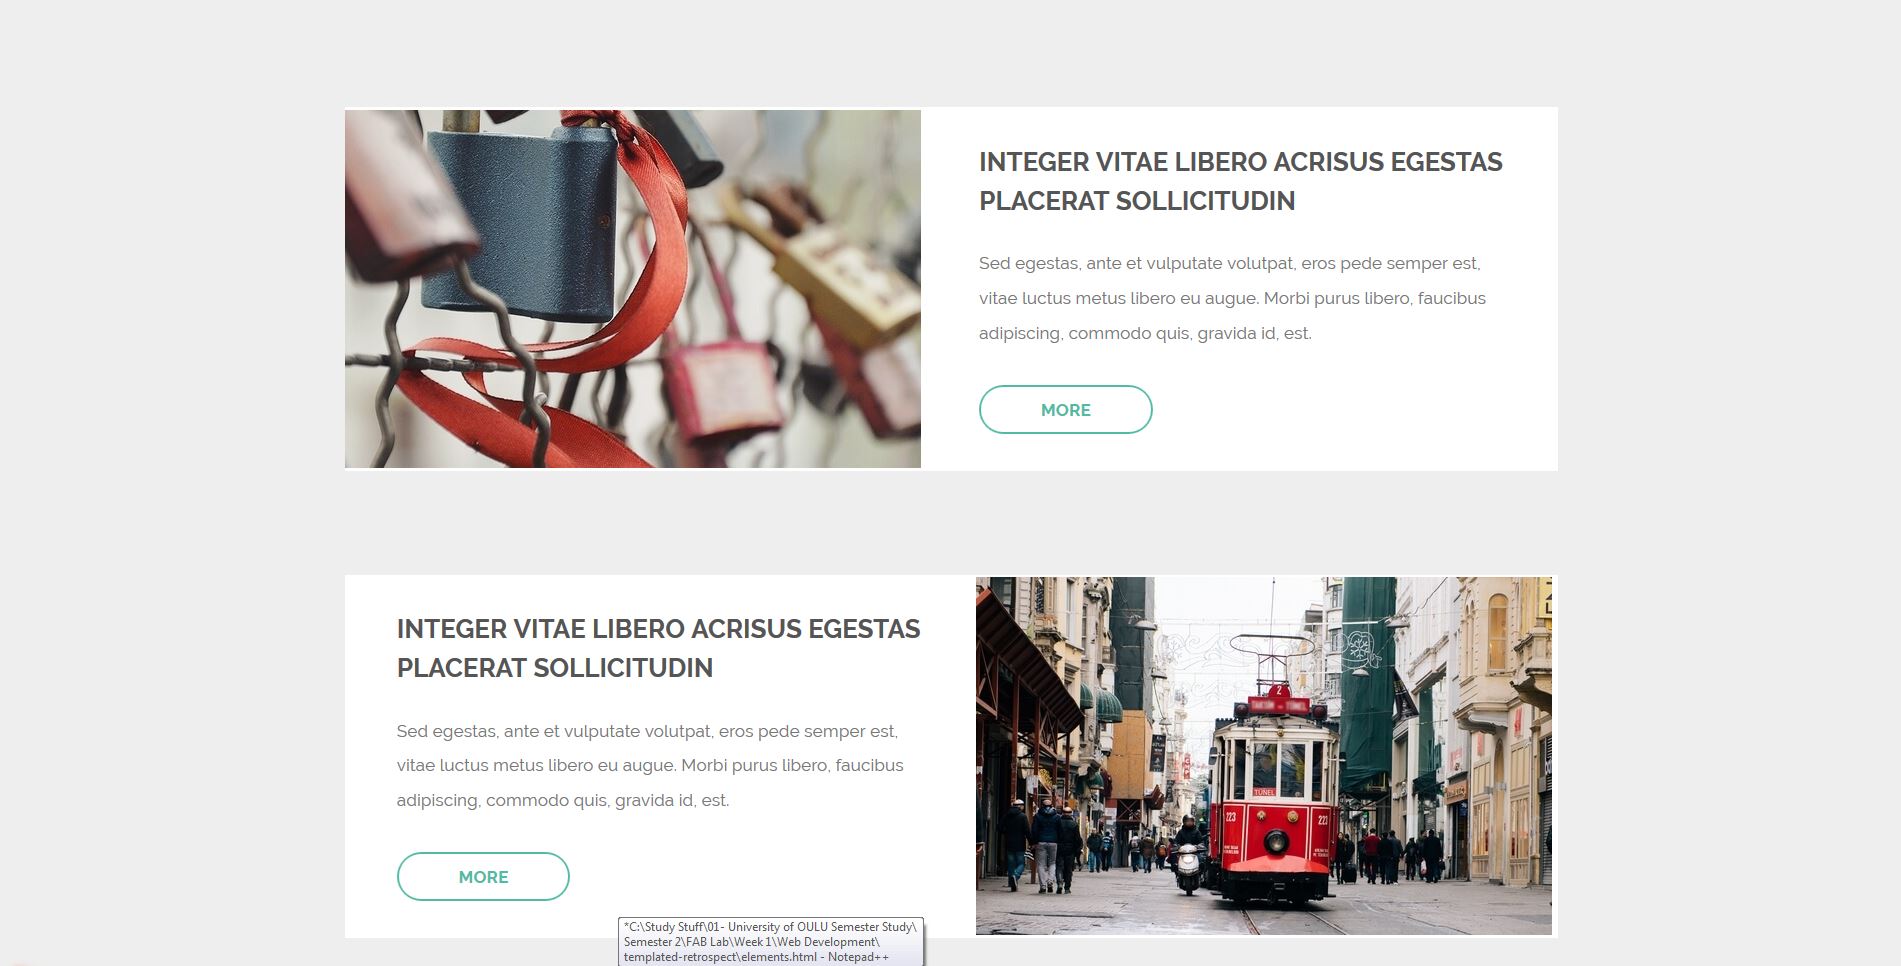
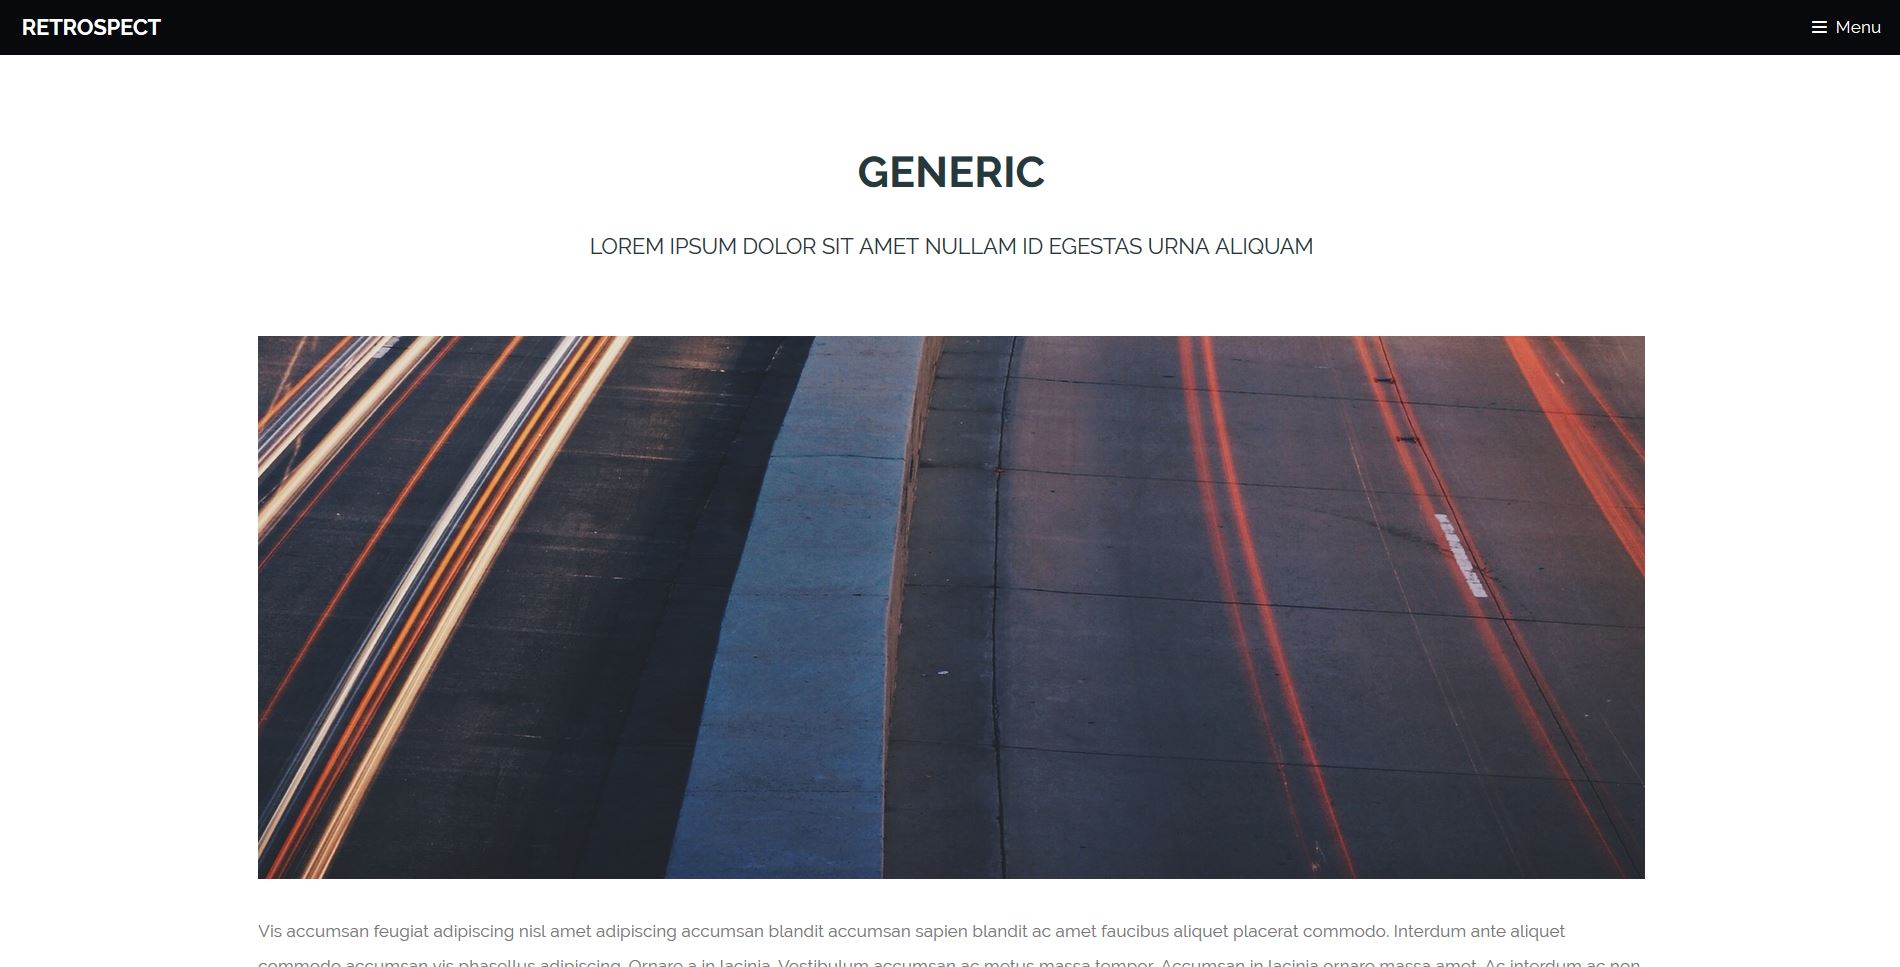
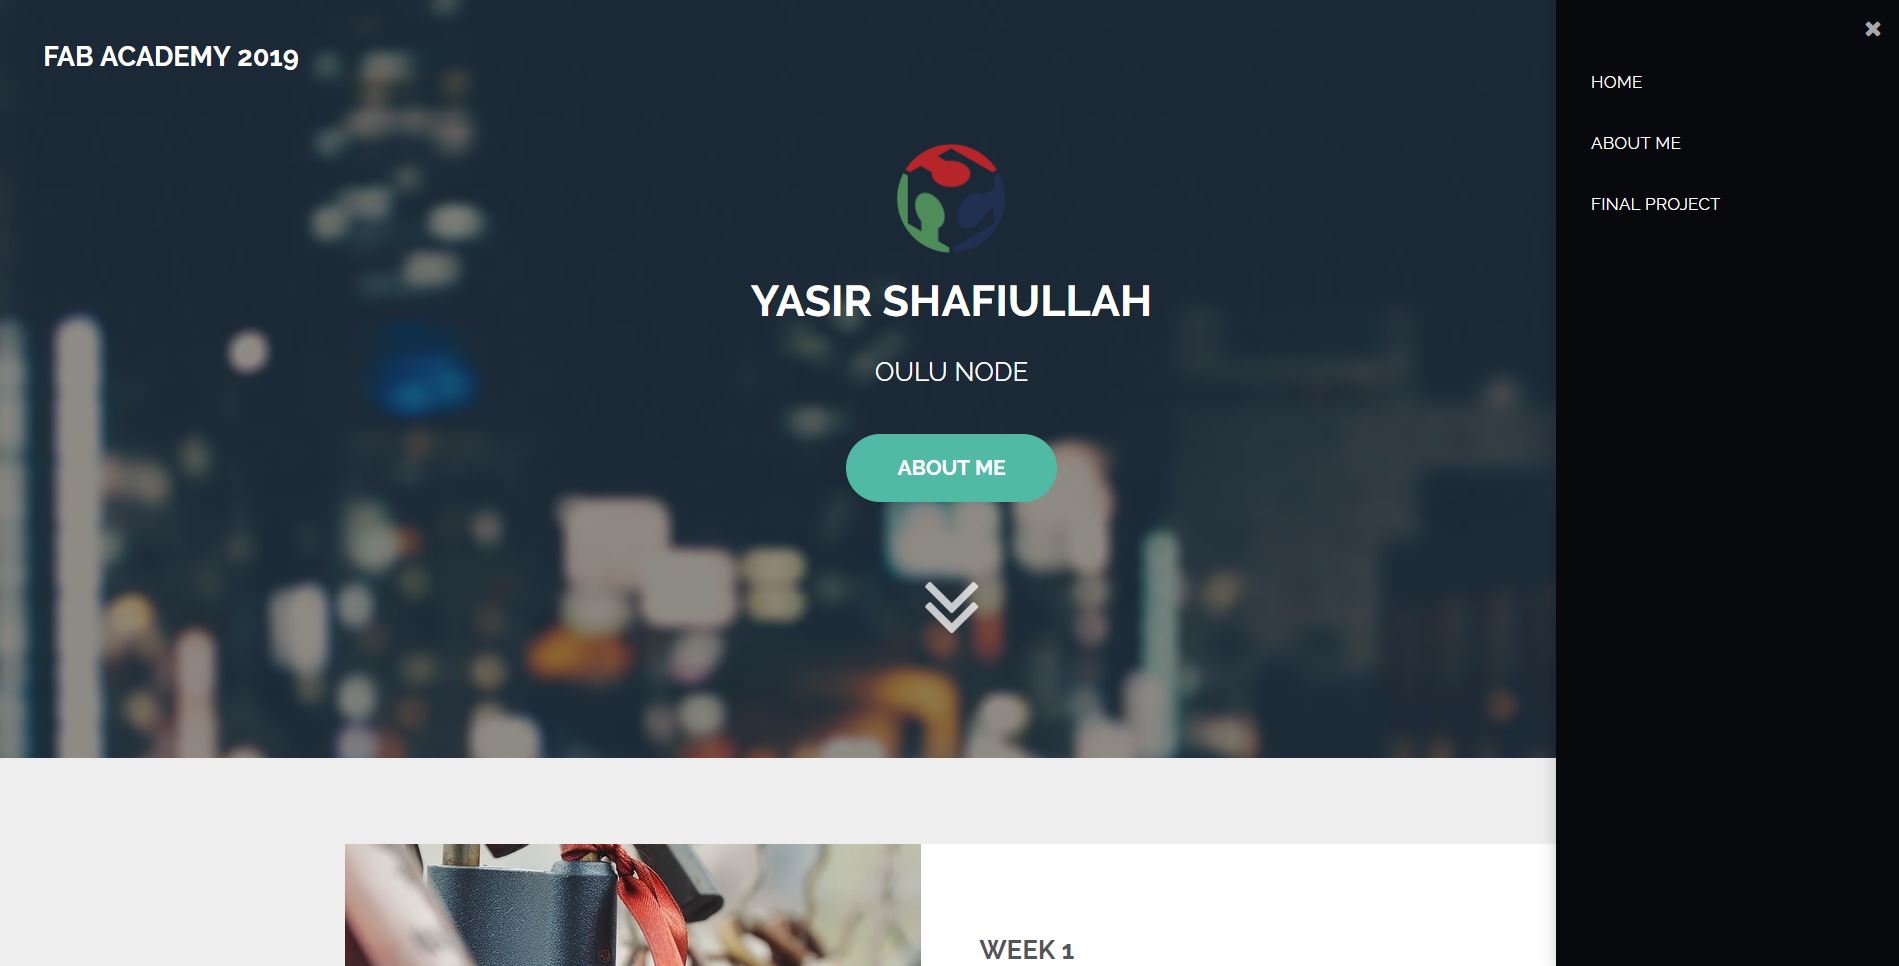
After selecting the template, I tried to modify the template. I modified the outline of the templates. In the Menu section, I added sections About me and Final Project and I am planning to expand the Menu section as the weekly assignments progress. Moreover, I modified the About Me section as well according to the requirements. Further Modifications will be done accordingly

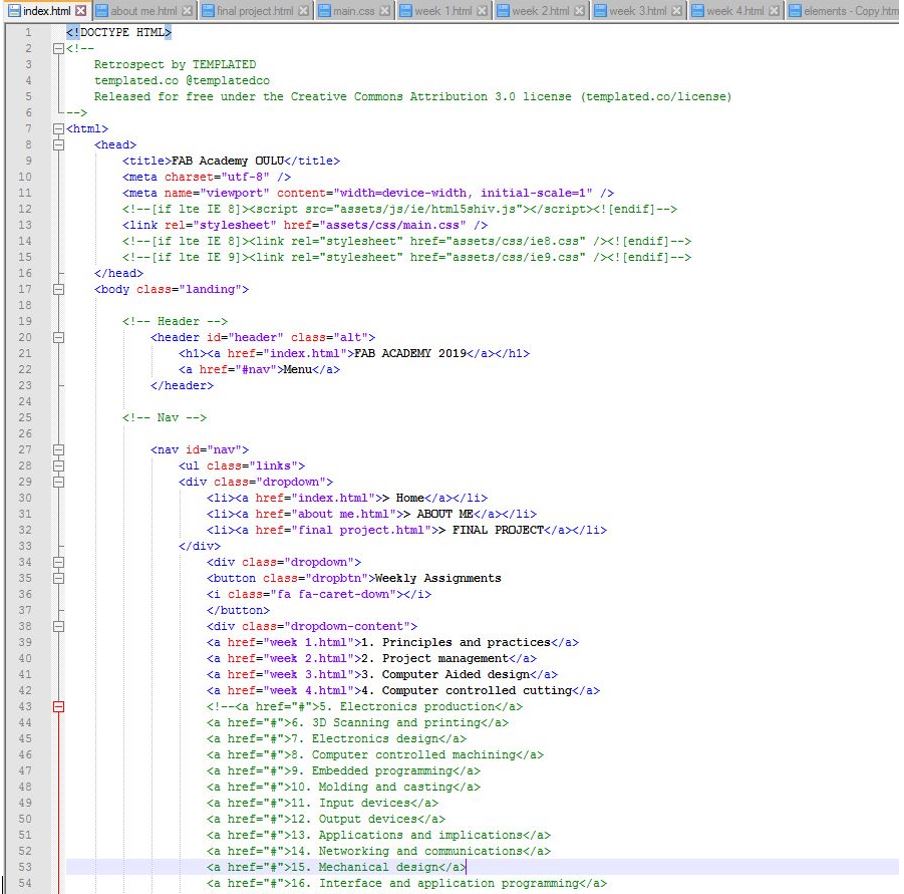
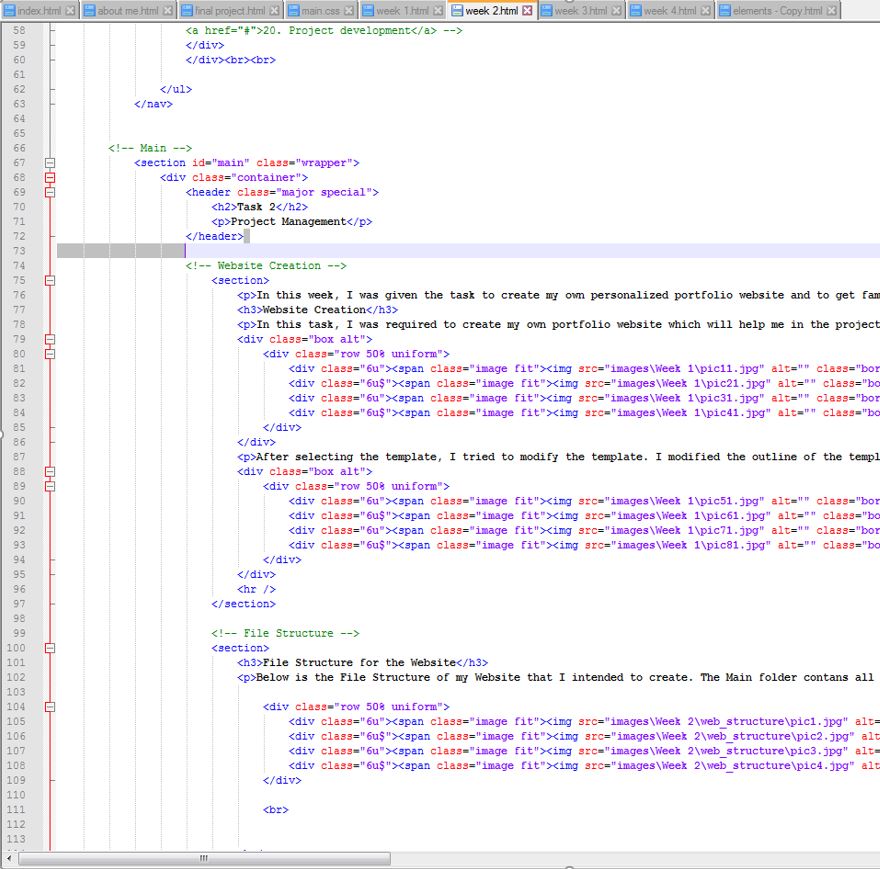
Below is the HTML code for my website that I modified according to my requirements.
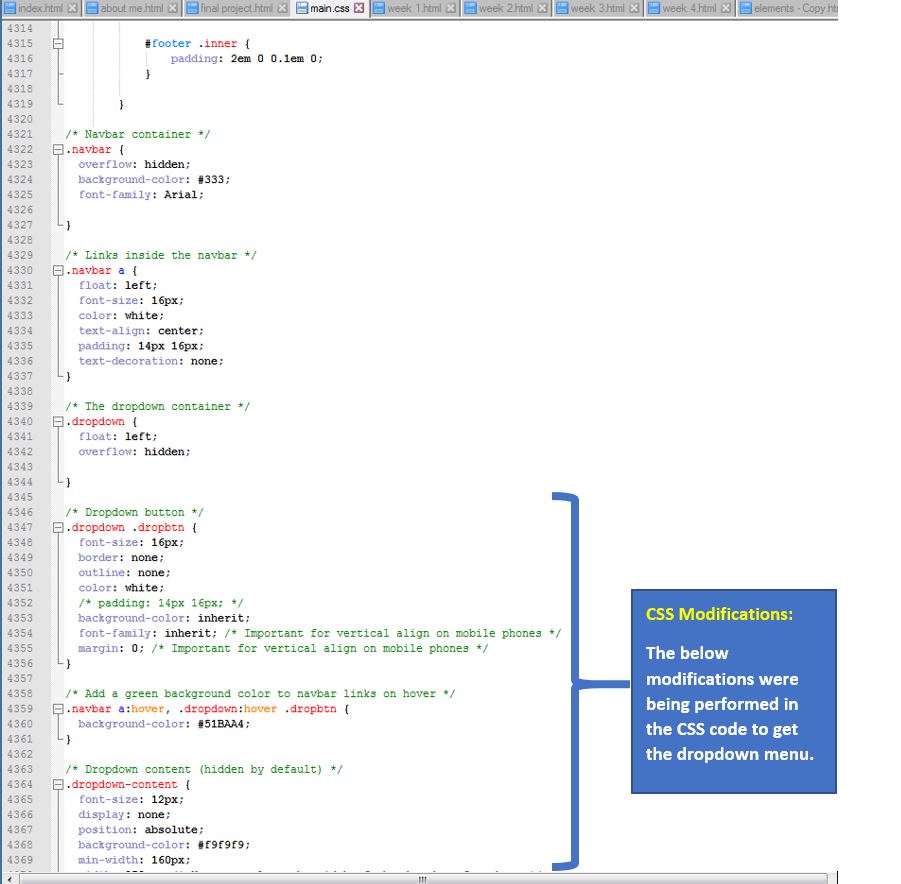
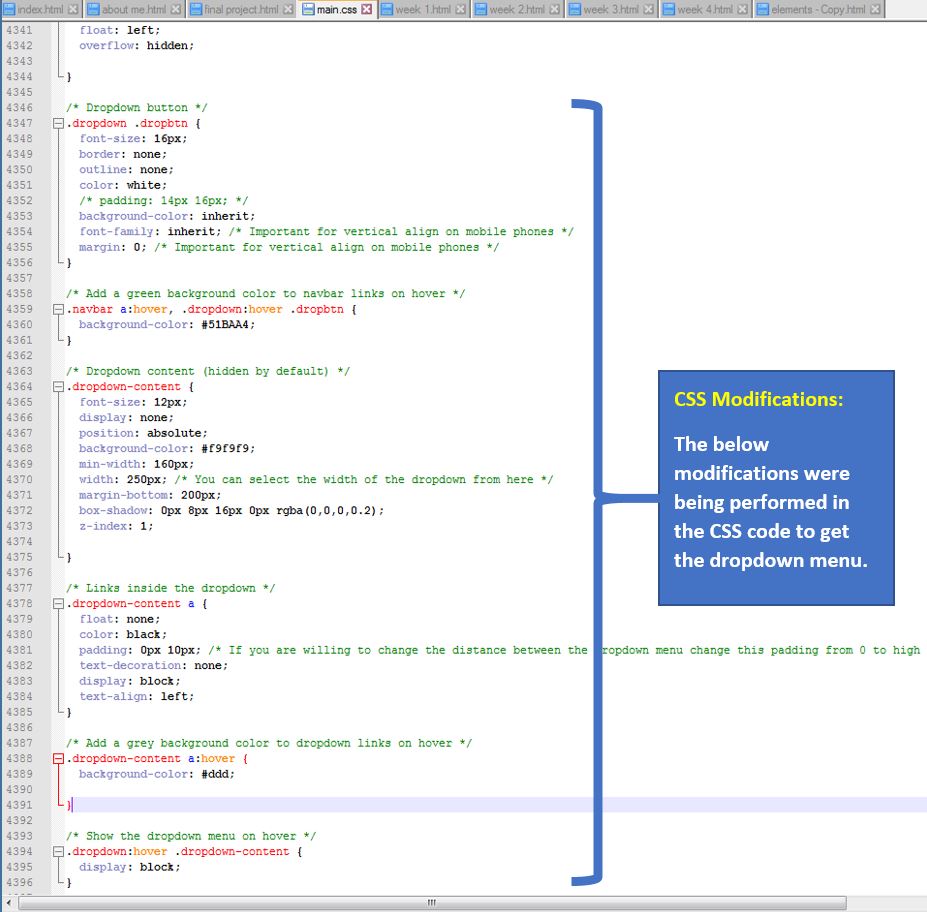
Below is the CSS Modification that I did in my code to get a drop down Menu, since it was not there in my website template. Therefore, I did CSS Modifications to get a drop down menu containing my weekly tasks.

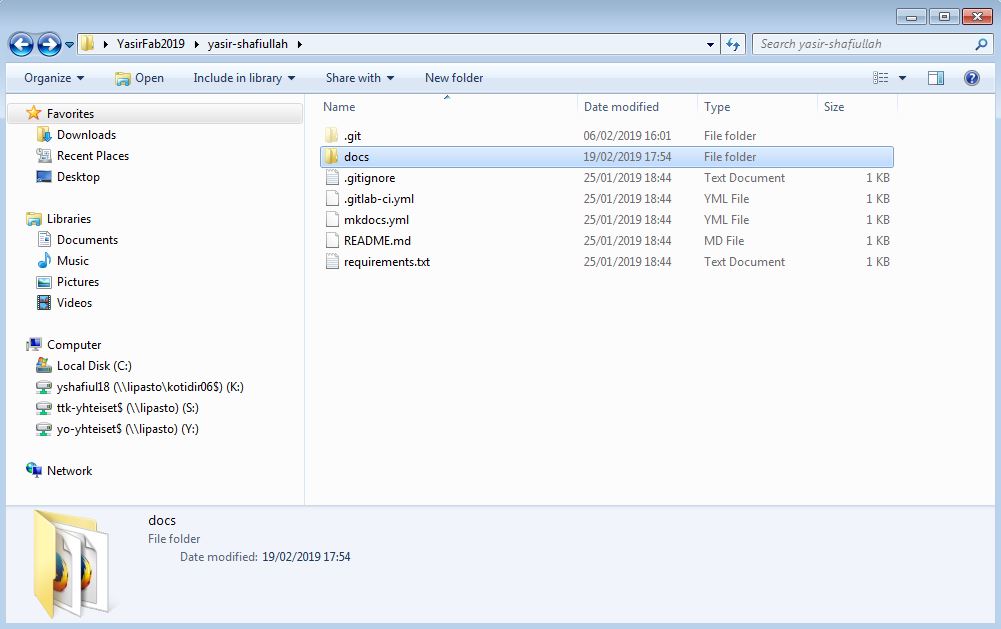
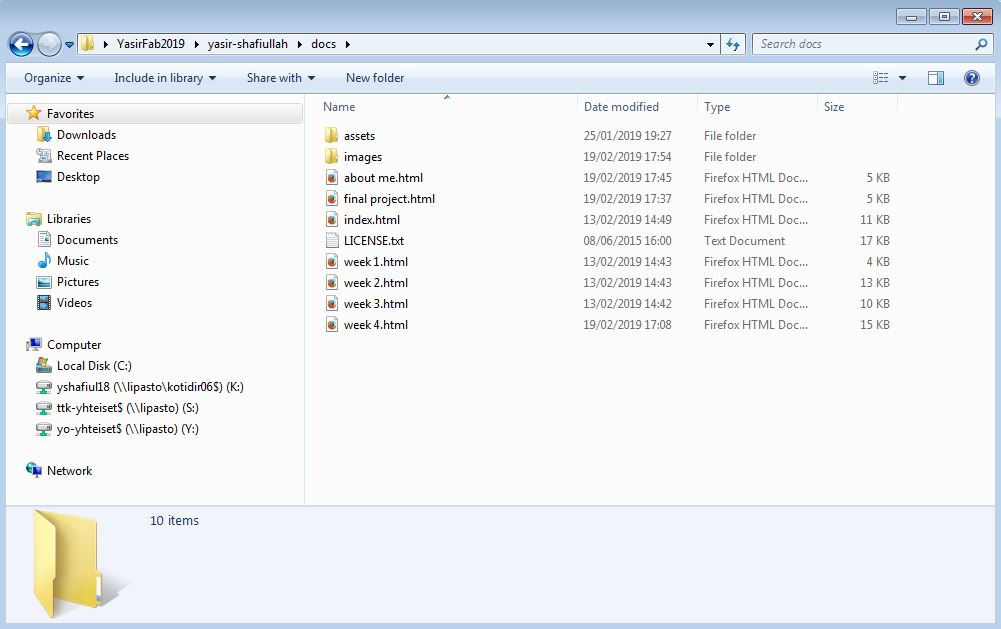
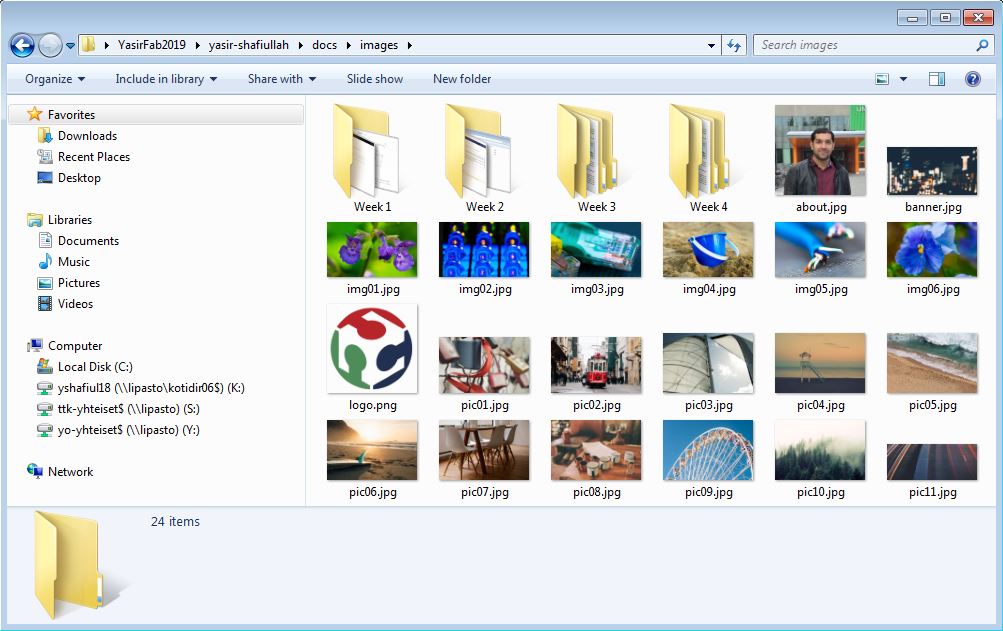
File Structure for my Website
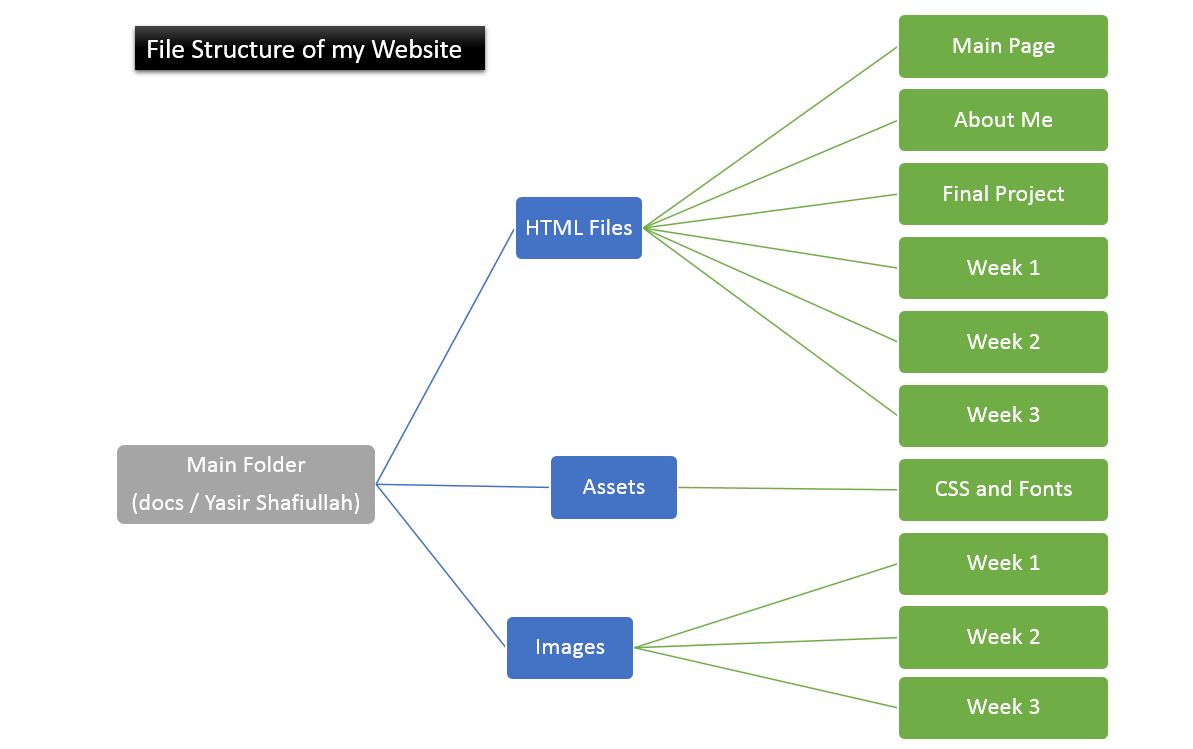
Below is the File Structure of my Website that I intended to create. The Main folder contans all the HTML files, Asset and Images Folder. The flowdiagram below depicts a better picture. The weekly Task will be updated accordingly. HTML files and corresponding images file will be created accordingly in the following weeks.
Getting Started with Git
Our Fab Lab Instructor gave us a short Introduction about Git Lab. Before I began, I started to search for the tutorials/guides recommended.
- I found these link to be extemely useful, these can be considered as an important guideline to begin with:
- https://atlassian.cs-aware.eu/confluence/download/attachments/16417374/2017_Version_Control_System.pdf?version=1&modificationDate=1507209431775&api=v2
- https://git-scm.com/book/en/v2/Git-Basics-Recording-Changes-to-the-Repository
- https://education.github.com/git-cheat-sheet-education.pdf
- The Below learning were being gathered from the mentioned links:
- Git workflow and Lifecycle (The flow process from the working directory to the remote repository).
- Git Basic Terminology and Commands (Configure Tooling, Make changes, create repositories, group changes, review history and synchronize changes), Recording changes to the Repository (lifecycle of the status of the files).
- Git Hub Cheat Sheet: This cheat sheet features the most important and commonly used Git commands for easy reference.

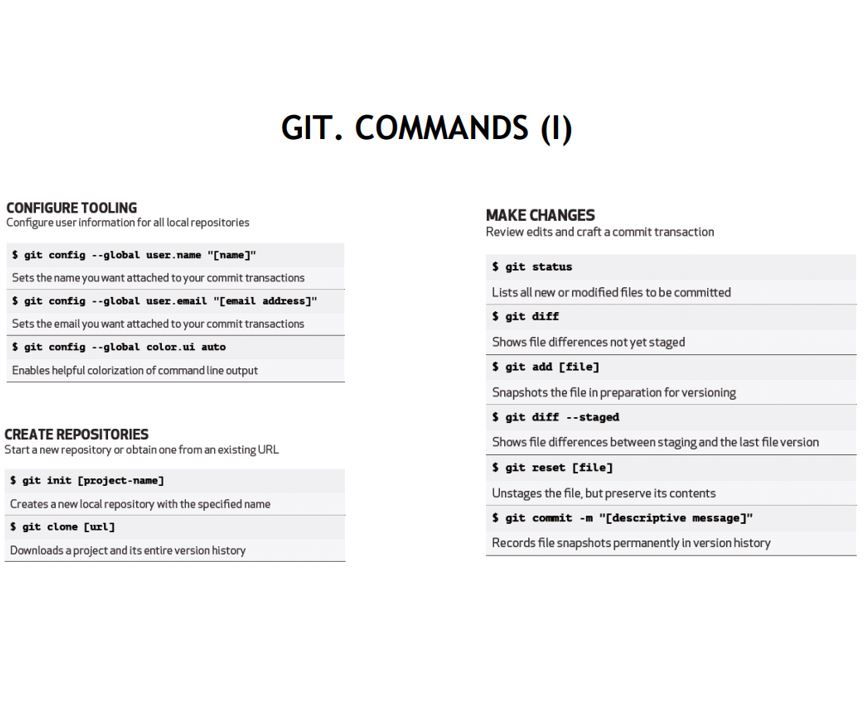
The above pictures for GIT workflow and lifecycle and GIT Commands taken from the sources, for left picture source: https://git-scm.com/book/en/v2/ and right picture source: https://training.github.com/kit/downloads/github-gith-cheat-sheet.pdf .
After getting a clear understanding of the Git and process involved in it. I downloaded Git from https://git-scm.com/download/win. We use Git Bash to create public/private key pairs in order to connect securely with remote repository using SSH protocol. The below command will assist to create those:
ssh-keygen -t rsa -C "myemailaddress"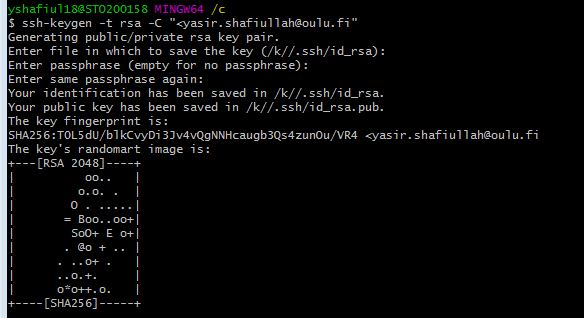
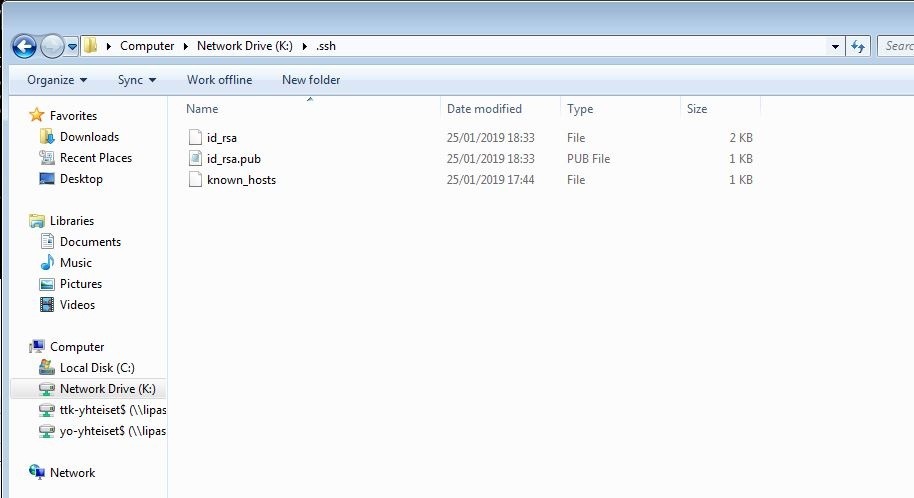
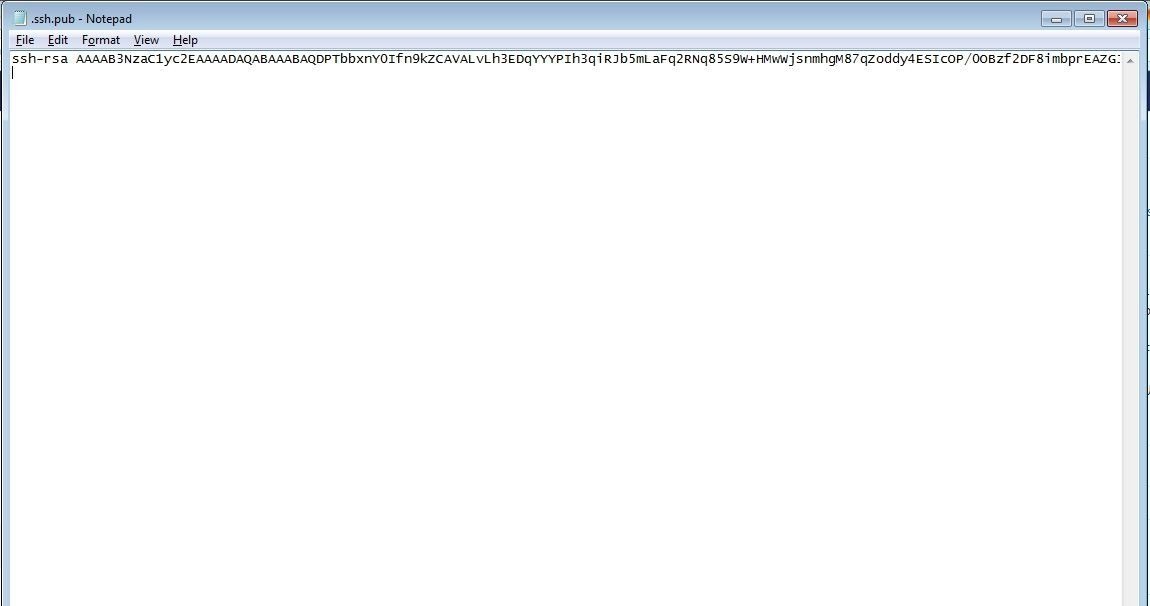
Inorder to acquire the editing rights, the SSH Key was created has to be copied in the gitlab website. For that, I browse through the https://gitlab.fabcloud.org site to access my User Settings > SSH Keys. I copied the content of keyname.pub which I obtained from the files created in my home directory and pasted them in the Key box in the gitlab website.
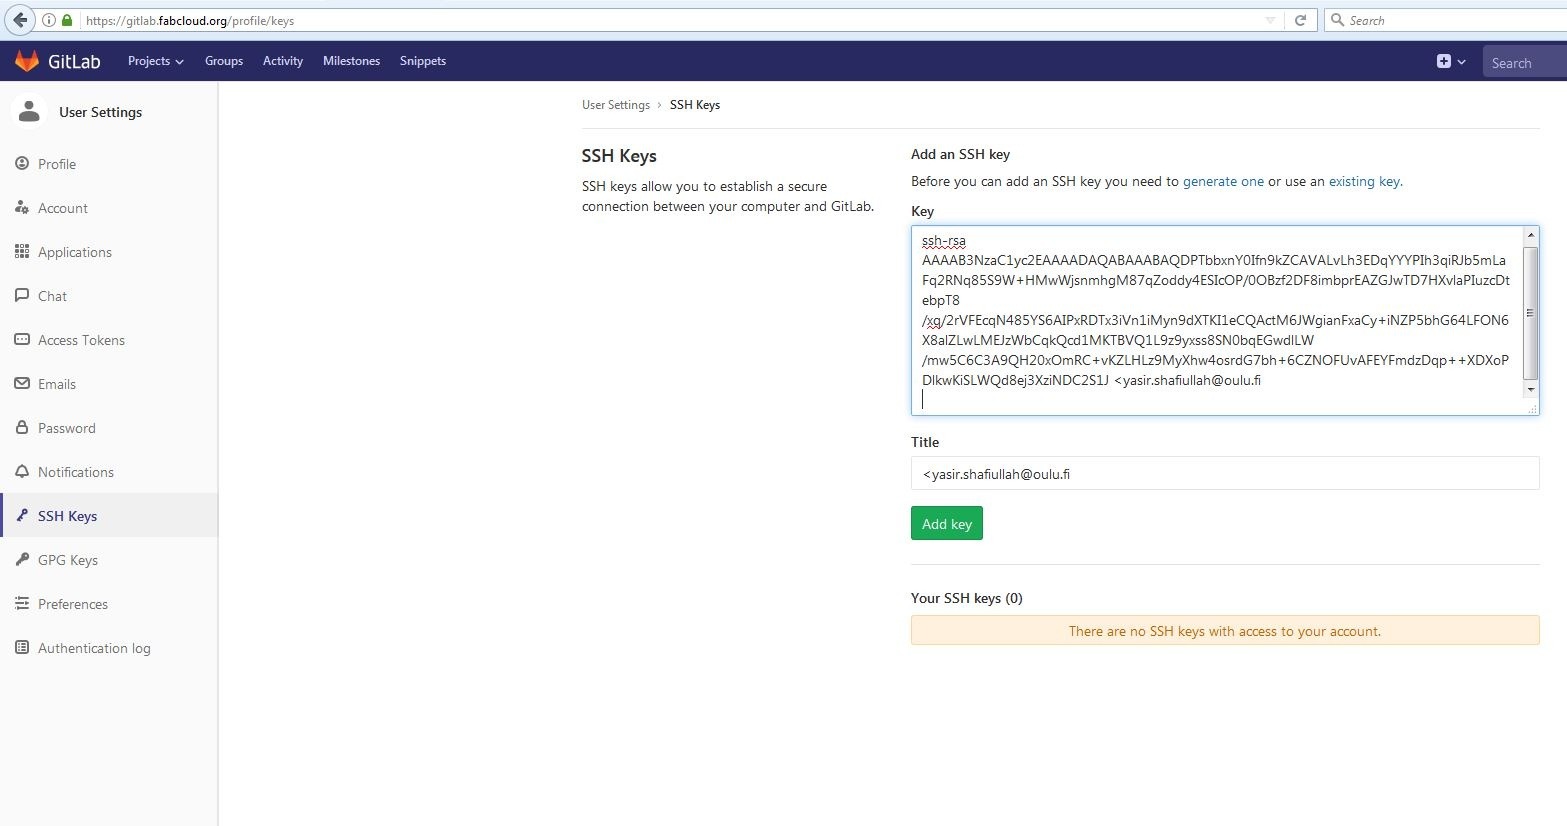
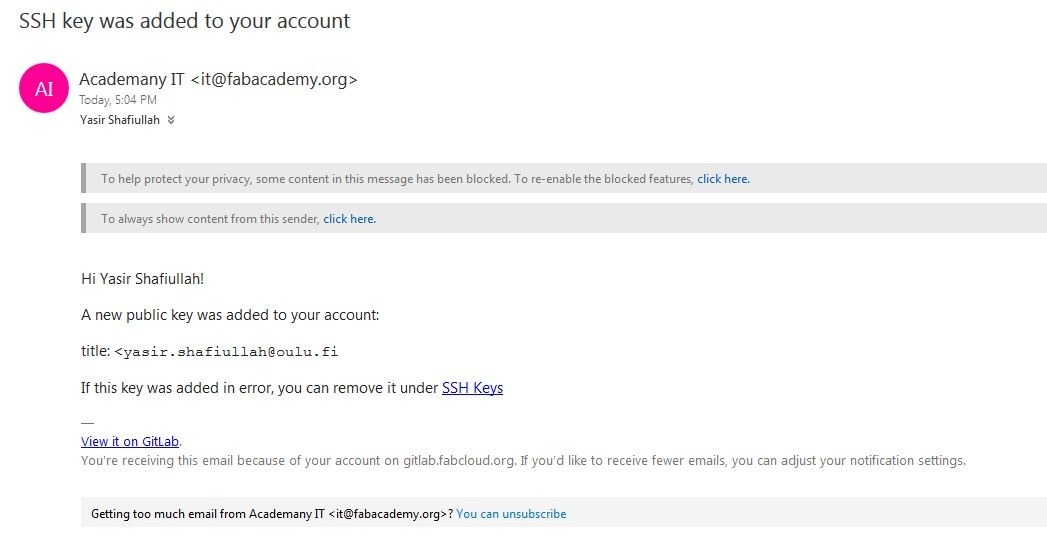
The SSH key was successfully added to my gitlab account, I also got a confirmation on my email address as well

Since now, I had the complete editing rights for the gitlab, the next step was to do the cloning from remote (Master) respository to my local repositiory which is gonna assist me in edit my website content locally and then I can easily upload by using Git Bash into the remote repository. So to download the repo from the remote repository to my computer (creating a local repository), I used this command
git clone url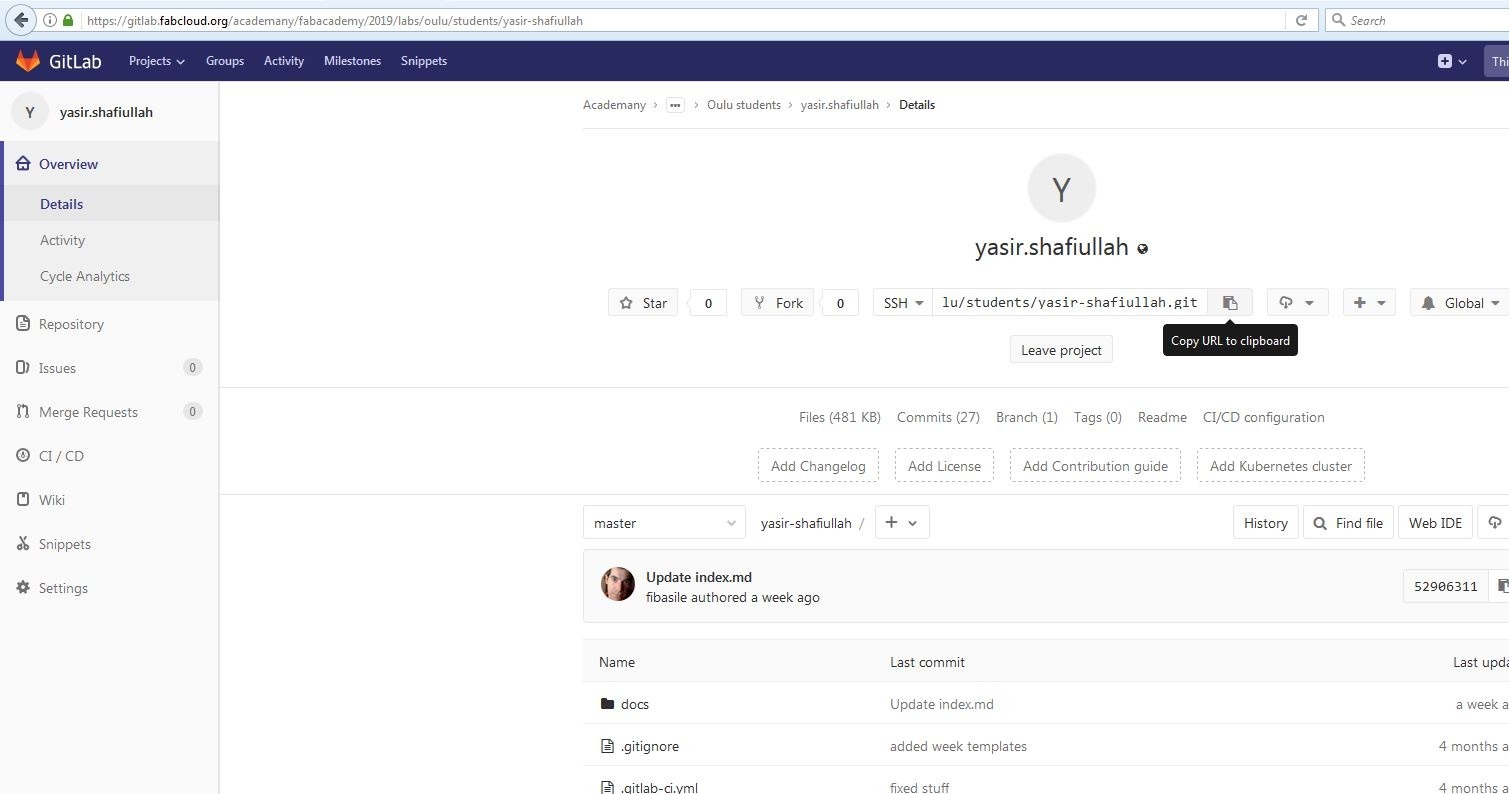
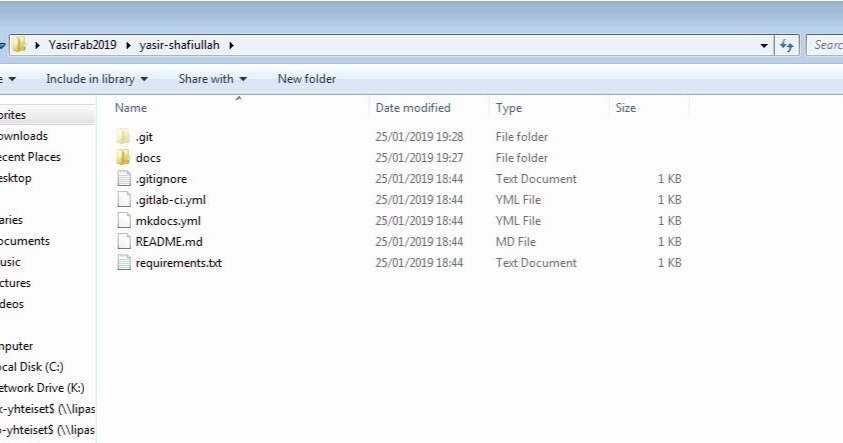
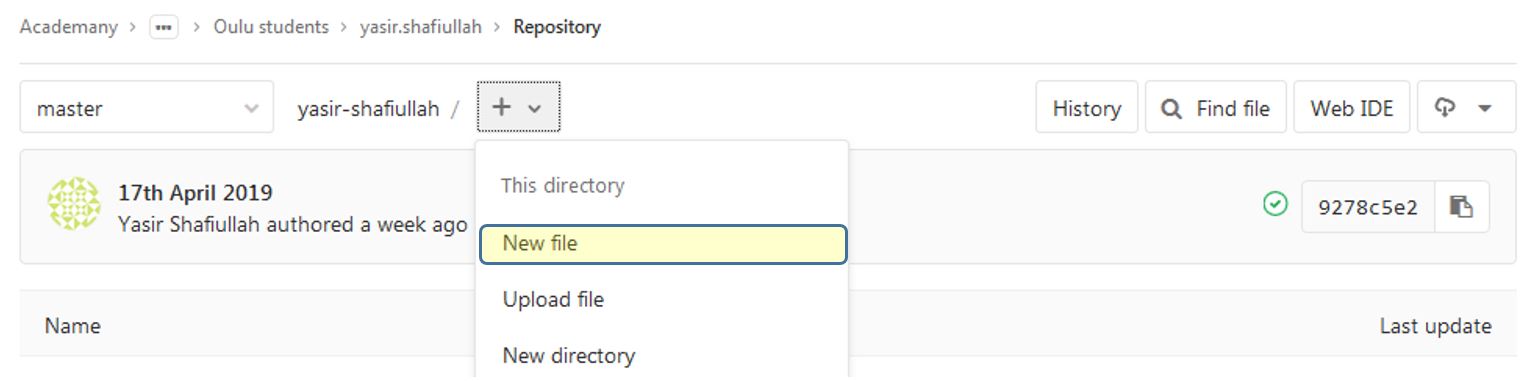
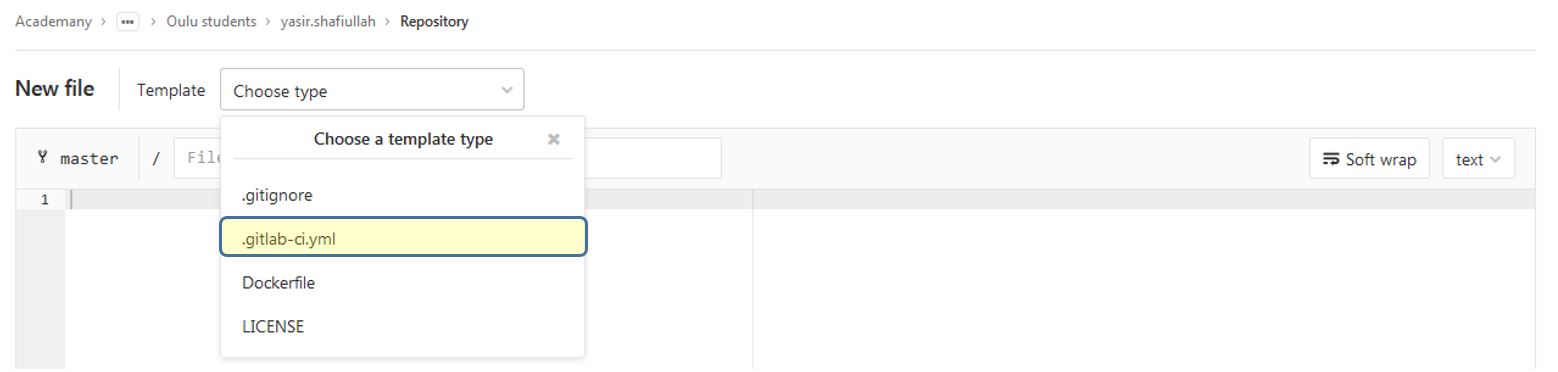
Since I already had made the template of the website already, therefore after acquiring the local repository. I replaced the docs folder (containing the html, css files and images) with my website template. Instead of making a new yml file, I utilized the same yml that I downloaded from the default remote repository as seen in the picture above the .gitlab-ci.yml is the same file as I downloaded and utilized that since it worked for me. The .gitlab-ci.yml file is a YAML file that you create on your project’s root. This file automatically runs whenever you push a commit to the server. It tells the GitLab runner what to do. By default it runs a pipeline with three stages: build, test, and deploy. It not neccessary that it will use all three stages; stages with no jobs are simply ignored. So if you push it 3 times, it’s going to run it 3 times!. Still inorder to create the new yml file, go to the remote repository and make a new file. The process is quite simple as demonstrated in the below pictures:
These are the steps to upload content from the Local repository to the remote repository :
1. Fetch from and integrate with another repository or a local branch
git pull origin mastergit add .git commit -m "Initial commit"git push origin maste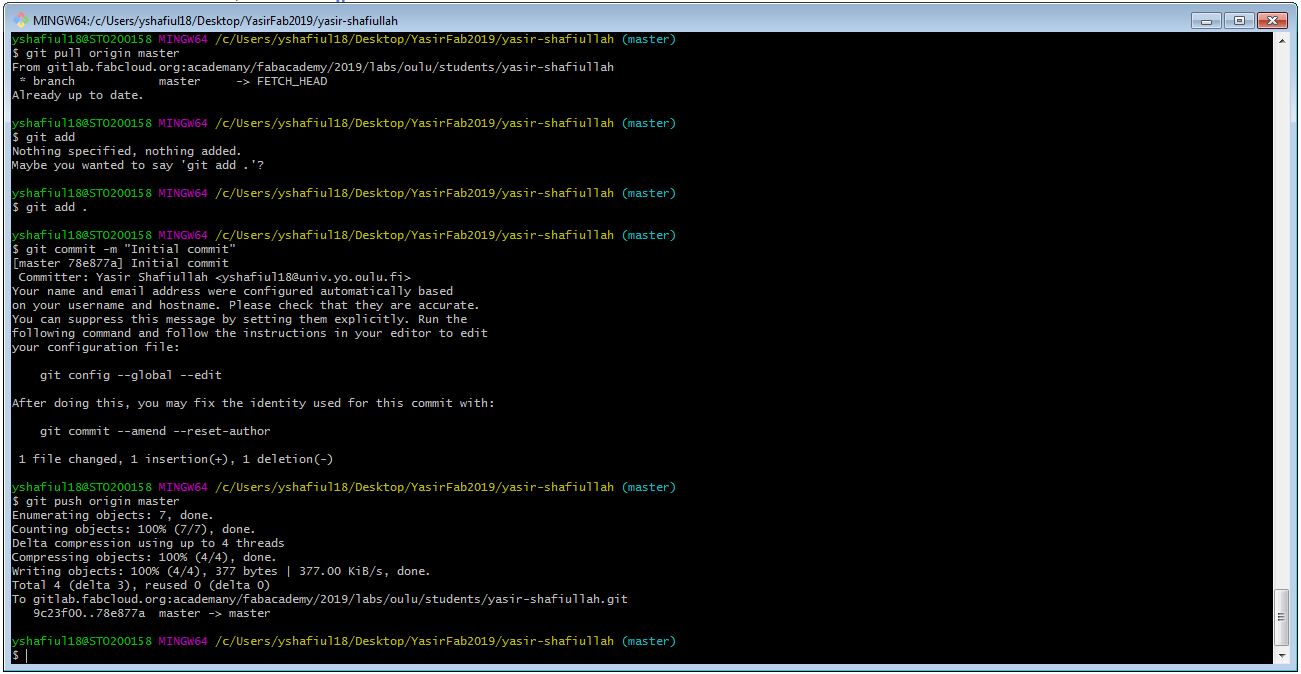
Resources Utilized
- I utilized these resources for this task:
- Notepad++, Sublime Text, for code editing
- git, as version control tool
- Bootstrapious, Templated, Multipurpose Templates